Brow Makeup Matched to Your Eyebrow Shape
Filling in your brows without knowing your natural shape is like contouring without knowing your face shape — you might look good, but you won't look like the best version of yourself. Your brow architecture determines where to add density, where to leave space, and which products give the most natural finish.
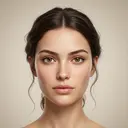
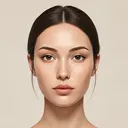
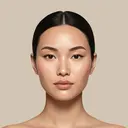
Product Selection by Shape
Pencils give the most precise, hair-like strokes and work best on arched brows where you want to define the peak without over-filling. Powders create a softer, diffused look that suits straight and rounded brows where natural fullness is the goal. Pomades deliver bold, sculpted definition and pair well with angled brows that already have strong geometry. Tinted brow gels are the lowest-effort option — they add color and hold while respecting your natural shape.
The Mapping Rule: Where Your Brow Should Start, Peak, and End
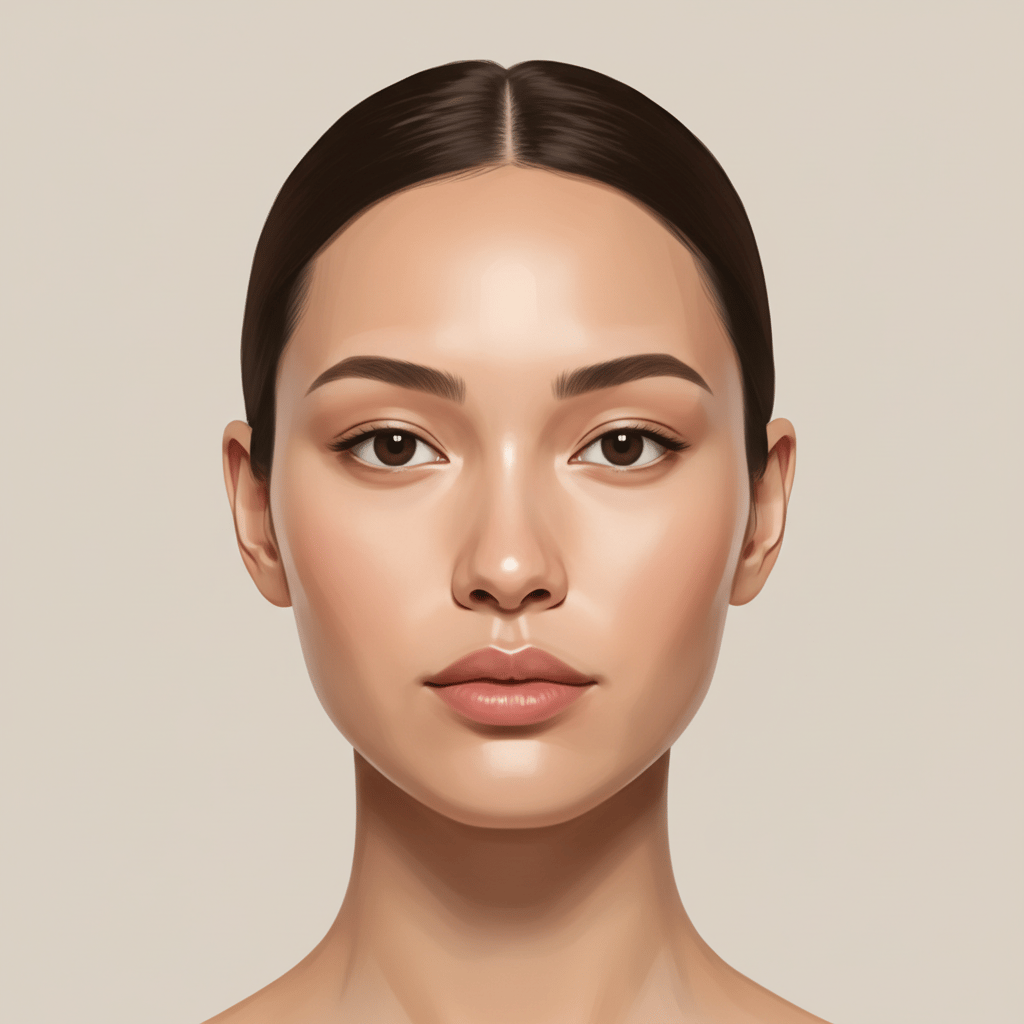
Hold a pencil vertically against the side of your nose — that's where the brow should start. Angle it from the nostril through the center of your pupil — that's your ideal arch peak. Angle it from the nostril to the outer corner of the eye — that's where the tail should taper off. This framework isn't rigid, but it helps you see whether your natural shape already follows these proportions or whether strategic filling can nudge it closer.
Mistakes That Make Brows Look Drawn On
The most common mistake is using a shade too dark for your hair color. Go one to two shades lighter than your hair for a natural result. The second mistake is starting with a hard front edge — brows should fade in softly at the inner corner. Third, avoid filling with a single heavy line along the bottom edge. Instead, build density with short upward strokes throughout the body of the brow, leaving the top edge slightly diffused.
Makeup by Type
Specific recommendations for each eyebrow shape shape result.
Add a subtle arch by concentrating pencil strokes just above the natural top line at the mid-brow. Keep the front soft and the tail slightly tapered downward for a lifted effect.
Your natural shape is balanced and easy to maintain. Light powder fill through the body preserves the softness. Avoid pomade near the arch — it can sharpen what should stay gentle.
Soften the peak by filling below the arch with light, feathered strokes rather than defining the top line. A tinted gel that holds hairs upward makes the arch look intentional without over-dramatic.
Add structure by defining the tail with a pencil. A slightly extended, downward-angled tail creates the illusion of an arch without fighting your natural curve.
Your brow already has strong geometry. Use a spoolie to brush hairs upward and a clear gel to set them — this softens the angle naturally. If you fill, stick to the sparse areas and avoid tracing the sharp angle line.
Work with the double curve rather than against it. Fill the inner section and tail independently, following each curve's direction. A micro-tip pencil gives the control needed for the subtle direction changes.