Nose Contouring Matched to Your Nose Shape
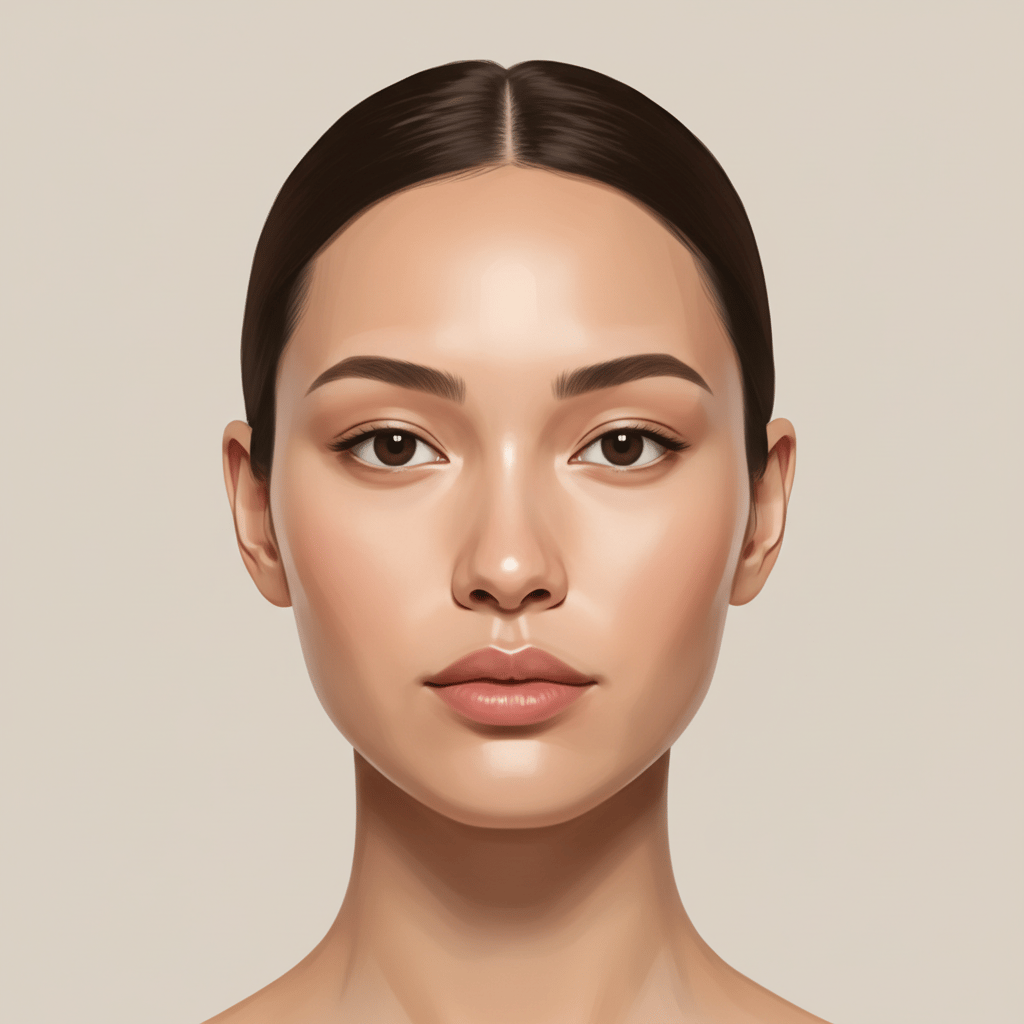
Nose contouring isn't about making your nose smaller — it's about using light and shadow to sculpt the proportions you want to emphasize. A button nose needs different shadow placement than a roman nose. Detect your shape above, then follow the targeted maps below to contour with intention.






The Two-Stripe Myth
Most contouring tutorials show two dark stripes down the sides of the nose and a highlight down the center. This only works if you want your nose to appear narrower. If you have a button nose and want to add length, the stripes need to extend further down toward the tip. If you have a hawk nose and want to soften the bridge, the shadow goes on the bump itself, not the sides. Shape-specific placement is what separates natural-looking contour from visible paint stripes.
Choosing the Right Products for Nose Contour
Cream contour blends naturally and stays close to the skin, making it ideal for nose work where harsh lines are obvious. Powder contour is harder to blend on the small surface area of the nose but lasts longer. Use a cream for the initial placement and set with a light dusting of translucent powder. For highlight, a liquid illuminator on the bridge looks more natural than a shimmery powder, which can emphasize texture and pores on the nose.
Blending: The Technique That Matters Most
Use a small, firm brush or a damp beauty sponge and blend in tiny stippling motions. Never drag contour sideways across the nose — it smears the precise line you just drew. Build gradually: one thin layer, blended well, then assess before adding more. The goal is a subtle shadow that mimics the way natural light falls on the face, not a visible brown line.
Makeup by Type
Specific recommendations for each nose shape shape result.
Your nose bridge has clean lines and minimal bumps. Light contouring, if any, can narrow or widen the bridge. To narrow, shadow the outer edges. To add character, skip contour entirely — your natural structure is already clean.
Soften the bridge bump by applying highlight just above and below the bump, skipping the bump itself. A light shadow directly on the raised portion minimizes its prominence without changing the profile.
If you want to create the illusion of a narrower base, shadow the outer edges of the nostrils and highlight down the center of the bridge. Keep the highlight thin and well-blended to maintain a natural look.
Add visual length by extending highlight from the bridge all the way to the tip. Shadow the sides starting from mid-bridge downward — this draws the eye vertically and gives the nose more perceived length.
Soften the downward tip by highlighting the bridge and applying a small shadow under the tip. This lifts the visual weight and draws attention to the upper bridge area.
Your short, slightly upturned nose benefits from a bridge highlight that extends to the tip. Shadow on the sides of the tip refines it, while keeping the bridge light maintains the approachable quality of a snub nose.
Contour the sides of the tip with a small brush and shadow shade. Highlight the center of the tip only — not the sides. This creates a focal point at the center and makes the tip appear more refined.