Eye Makeup Matched to Your Eye Shape
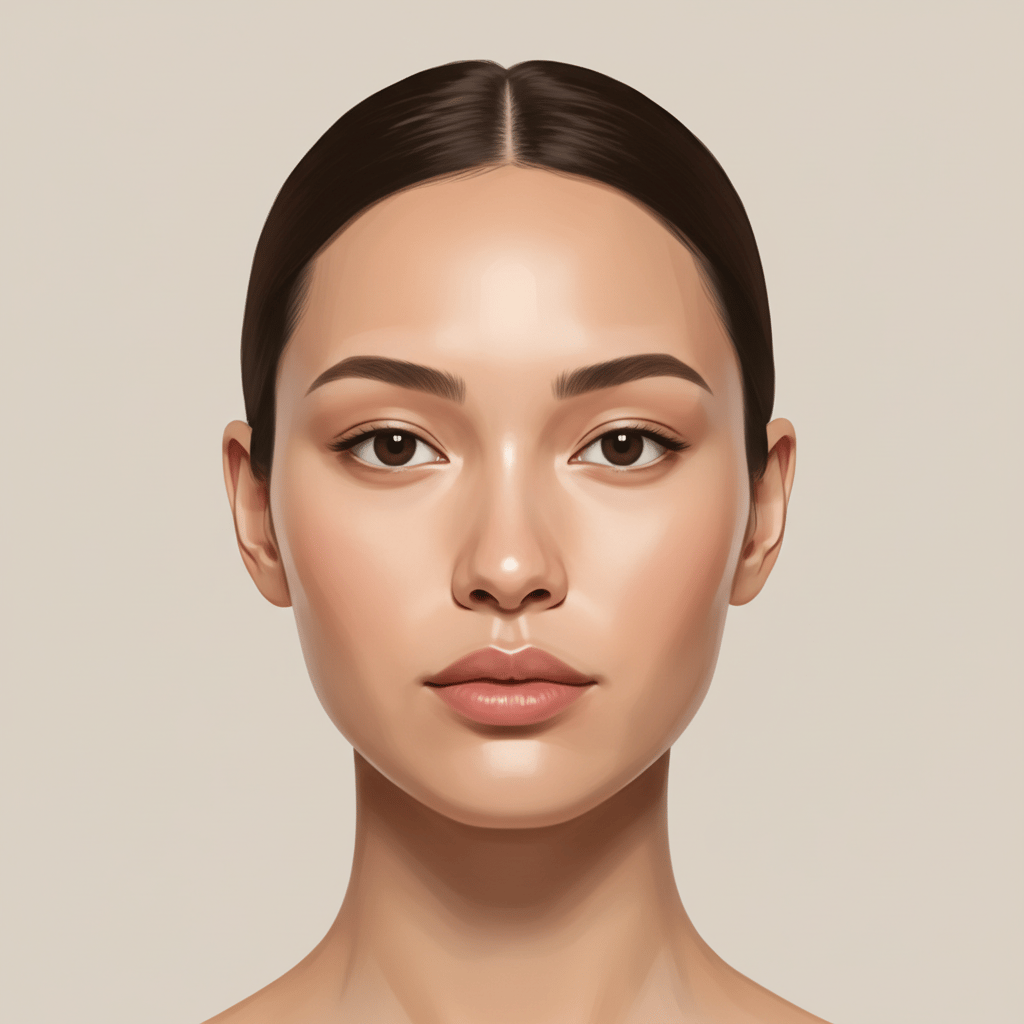
The same eyeshadow look can open up one pair of eyes and close down another. The difference is placement — where you deepen shadow, how you angle liner, and which lash style you choose all depend on your eye geometry. Use the detector above to identify your shape, then follow the tailored techniques below.






Why Eye Shape Changes Everything in Makeup
Most tutorials are filmed on almond-shaped eyes, which means the placement rarely translates directly to other shapes. For hooded eyes, shadow above the crease disappears when you open your eyes, so you need to place color higher. For round eyes, extending liner past the outer corner elongates the shape. Understanding your geometry lets you adapt any tutorial to your face instead of copying it blindly.
The Three Placement Zones
Every eye look relies on three zones: the inner corner (where light catches), the lid center (your main color), and the outer V (where depth lives). Your eye shape determines how much real estate each zone gets. Deep-set eyes have a prominent lid but a recessed crease, so you want shimmer on the lid and minimal dark color in the crease. Close-set eyes benefit from keeping the inner corner light and pushing depth outward to create the illusion of wider spacing.
Liner Angles That Flatter
Eyeliner angle is the single fastest way to change how your eye shape reads. Upturned eyes already lift at the outer corner, so a straight or slightly downward wing keeps them balanced. Downturned eyes benefit from a flicked-up wing that lifts the tail. Monolid eyes often look best with a straight, slightly thicker line that stays visible when the eye is open, rather than a thin line that vanishes into the lid fold.
Makeup by Type
Specific recommendations for each eye shape shape result.
Most techniques suit you naturally. Try a classic wing that follows your natural lash line angle, and place a transition shade just above the crease for definition without heaviness.
Elongate with a cat-eye flick that extends past the outer corner. Darken the outer V with matte shadow and keep the inner lid lighter to create a horizontal pull.
Apply shadow with eyes open so you can see where color actually shows. Use a cut-crease or halo technique above the hood, and opt for thin, smudge-proof liner that won't transfer.
Gradient washes of color across the lid create dimension without a crease to anchor shadow. Use a straight, medium-width liner across the lash line and blend shadow upward toward the brow.
Balance the natural lift by darkening the lower outer lash line and keeping the upper wing subtle. Smudged shadow along the lower lashes grounds the eye.
Lift the outer corner with an upward-angled wing. Avoid lining the full lower lash line — stop two-thirds of the way to prevent dragging the eye down further.
Shimmer and light shades on the mobile lid bring the eye forward. Avoid dark, matte shadows on the lid — save depth for the outer corner only. Highlight the brow bone to open up space.
Keep the inner third of the lid bare or highlighted and concentrate darker shadow from the mid-lid outward. Extend liner past the outer corner to visually widen the gap.
Darken the inner corner and inner lid with deeper shadow. Start liner from the inner corner and keep wings short — long wings push the eye further apart visually.